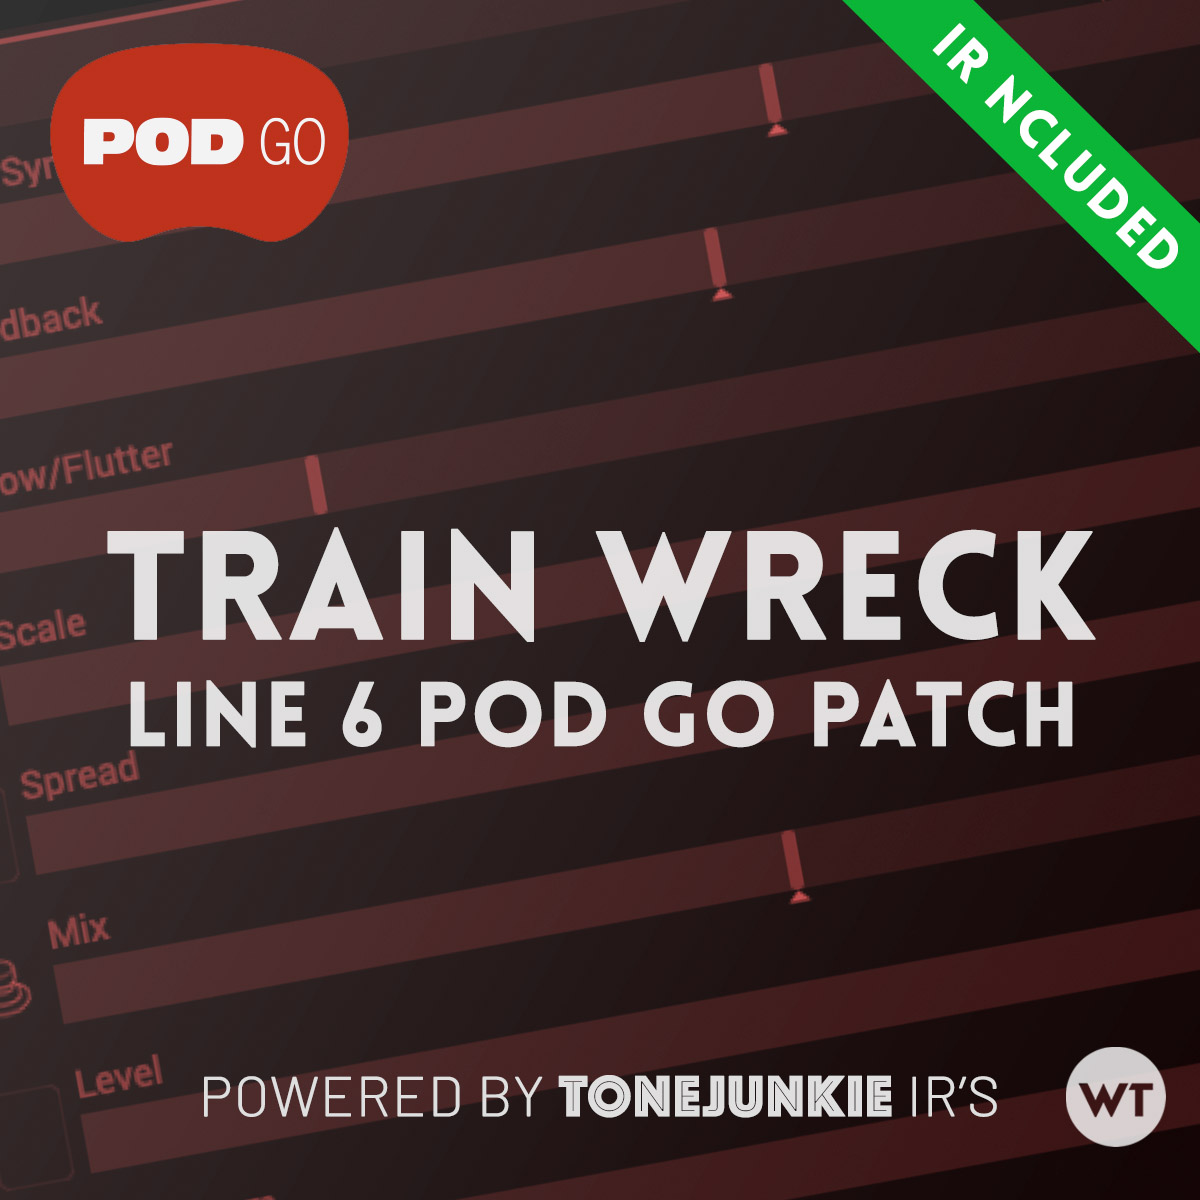
Description
NOTE: This video demonstrates the Helix version of this patch, but the POD Go version contains many of the same elements. Scroll down to see what all is included.
IMPORTANT NOTES
1. UPDATE YOUR FIRMWARE: Please upgrade the firmware on your POD Go and POD Go Edit software from Line 6 to the latest before installing this patch. Even if your POD Go is up to date, the app needs to be updated as well. If you get an error importing a patch, the problem is most likely outdated firmware on your POD Go or POD Go Edit.
2. IR CAB INCLUDED: This download includes a premium IR from Tone Junkie. We matched this specific IR to this amp, but feel free to experiment with other IR’s for different tonal options. We’ve also included a stock cab version of the patch, but we urge to try the IR – it really does sound better – and it’s included for free :).
Here is the specific IR included, and it’s location in our POD Go:
- TJ 23 MATCH 25 R121+7B . In our POD Go, it’s in IR slot 23. To purchase more IR packs, visit the Tone Junkie store here.
3. INCLUDED PATCHES: This download includes two patches:
- Train Wreck WT IR . patch is the main patch with IR cab suited for single coils or low output humbuckers
- Train Wreck WT HB . patch is the main patch with IR cab suited for traditionally voiced humbuckers
- Train Wreck WT. This is the main patch with a stock cab (we highly recommend the IR version with the included IR from Tone Junkie)
- Train Wreck WT FX 1, FX2 These patches includes additional effects blocks from our full Helix patch (see signal chain section below to know what is included)
*We include the additional ‘FX’ patches so you can mix and match effects blocks to best suite your needs. These additional blocks include more drive, delay, reverb, and modulation options.
HOW TO IMPORT THIS PATCH AND IR
- Connect your POD Go to your computer using a USB Cable
- Download and instal the ‘POD Go Edit’ app from Line 6
- In the ‘POD Go Edit’ app, drag and drop the patch into a slot in the ‘PRESETS’ column
- To import an IR, switch to the ‘IMPULSES’ column (next to the PRESETS column), and drag & drop the IR into the appropriate slot (see note above).
- PLEASE NOTE: If you do not have the IR loaded into the ‘IMPULSES’ column, the patch will not sound correct, even if you have the IR block on – you must drag and drop the IR into the IMPULSES column.
SIGNAL FLOW AND EFFECTS
Train Wreck WT IR, WT HB, and WT patches
- Input
- Volume (log curve) – mapped to EXP 2
- Wah – Not set up
- Deluxe Comp – not mapped to a switch, always on
- Minotaur – Klon OD – mapped to foot switch A
- Amp – Derailed Ingrid – parameters mapped to foot switch B (see notes below)
- Cab/IR
- Simple EQ – Always on EQ – Use this EQ to make tonal tweaks for your guitar/setup. These controls will affect your tone differently than the amp controls. See below for recommended settings.
- Transistor Tape Delay – parameters mapped to foot switch C (see notes below)
- Glitz Verb – parameters mapped to foot switch D (see notes below)
Train Wreck FX 1 PATCH:
- Input
- Volume (log curve) – mapped to EXP 2
- Wah – Not set up
- Heir Apparent OD (light overdrive)
- Scream 808
- Amp
- Cab
- EQ
- Script Mod Phase – phaser
- Double Tank verb
Train Wreck FX2 PATCH:
- Input
- Volume (log curve) – mapped to EXP 2
- Wah – Not set up
- Adriatic Delay – 1/4 Delay
- Adriatic Delay – dual stereo delay
- Amp
- Cab
- EQ
- Glitz Verb – huge verb for swells
USAGE
This patch is meant to be used in either stompbox or snapshot mode. We recommend setting up your POD Go to use switches A, B, C, and D as stomps, and the left up/down switches to cycle through snapshots.
We have included additional ‘FX” patches so you can copy and paste the various effects blocks used in the full Helix version of this patch to suite your needs with the POD Go.
AMP GAIN – FOOT SWITCH B:
Foot switch B adjusts Drive parameters on the amp block. This gives you a true amp overdrive tone without the use of dirt pedals. If the base patch is too dirty for your preference, adjust the ‘Min Drive’ and ‘Max Drive’ settings on this button to suite your needs. The ‘Min Drive’ settings is when the button is off, and the ‘Max Drive’ setting is when the button is on.
DELAY – FOOT SWITCH C:
Foot switch C adjusts parameters in the Delay block: It gives you subtle delay in the ‘Min’ position and more ambient delay in the ‘Max’ position.
REVERB – FOOT SWITCH D:
Foot switch D adjusts the following parameters in the Reverb block: Decay and Mix. In the off/min position you get a subtle reverb, and in the on position you get a big ambient reverb.
SNAPSHOTS:
There are four snapshots included in this patch to get different sounds. They are:
- Snapshot 1: CLEAN. This is the base clean tone with delay.
- Snapshot 2: DRIVE. Light overdrive.
- Snapshot 3: P&W LEAD: Big drive with delay and lots of verb. This is a typical P&W style drive.
- Snapshot 4: CLEAN AMBI – Clean tone with big reverb and delay.
MAKING ADJUSTMENTS FOR YOUR SETUP
SETTING THE PATCH UP FOR YOUR GUITAR
All guitars are different, so you may want to make changes to suite your playing style and guitar. We set this up with a variety of guitars, including both single coils and humbuckers (primarily a Telecaster style guitar). If your guitar has humbuckers, please refer to the suggested settings below.
We recommend making a copy of the patch and changing the copy just in case you want to revert back to the original.
We’ve included both single coil and humbucker voiced patches to serve as starting points for your guitars. To make adjustments, we recommend starting with these parameters:
- Amp Gain: Adjust the min/max values of the amp gain so that your guitar is slightly breaking up with big chords on the bridge position (without any drive pedals on)
- Amp EQ controls: Adjust these to suite your individual guitars/taste
- EQ block: This is a simple way to adjust the overall tonal characteristics of the patch.
VOLUME CHANGES
If you would like to make this patch louder or quieter without affecting tone, the following adjustments can be made:
“Ch Vol” control on the amp module. This will increase or decrease volume without affecting the tone of the amp. This is the primary level adjustment tool I use for changing patch volumes.
Output block level. Changing the level control on the output block (the very last thing in the signal chain) will increase or decrease overall volume. We typically have this set at zero, but feel free to adjust this as you see fit.
CHANGELOG
Version 1.0 (initial release): 2020-05-17


Reviews
There are no reviews yet.