ACG + PADS – Line 6 Helix Patch

$5.99

Line 6 Helix patch for ambient Pads (all generated from the built in Helix effects), with separate processing for acoustic guitar. You can use this patch to generate ambient Pads in all 12 major keys.

Description

IMPORTANT NOTES

1. UPDATE YOUR FIRMWARE: Please upgrade the firmware on your Helix and the HX Edit software from Line 6 to the latest before installing this patch. Even if your Helix is up to date, the ‘HX Edit’ app needs to be updated as well. If you get an error importing a patch, the problem is most likely outdated firmware on your Helix/HX Edit.

2. IR BLOCK: This patch includes an IR block, but does not include any IR’s. The IR block is turned off by default, but it is here so you can use an acoustic IR if you would like. We have a growing library of acoustic IR’s at Worship Tutorials.

2. PADS ARE IN MAJOR KEYS: The Pads sounds in this patch are intended to be used with songs in major keys (rather than minor).

PATCHES

This download includes two patches

  • ACG+PADS WT – This patch includes Pads in the keys of A, B, C, D, E, F and G
  • ACG+PADS WT alt – This patch includes Pads in the keys of Ab, Bb, Db, Eb, and Gb

NOTE: If you need to mix these keys into a single patch, we have instructions on how to do that in this ReadMe.

HOW TO IMPORT THIS PATCH AND IR

  1. Connect your Helix to your computer using a USB Cable
  2. Download and instal the ‘HX Edit’ app from Line 6
  3. In the ‘HX Edit’ app, drag and drop the patch into a slot in the ‘PRESETS’ column

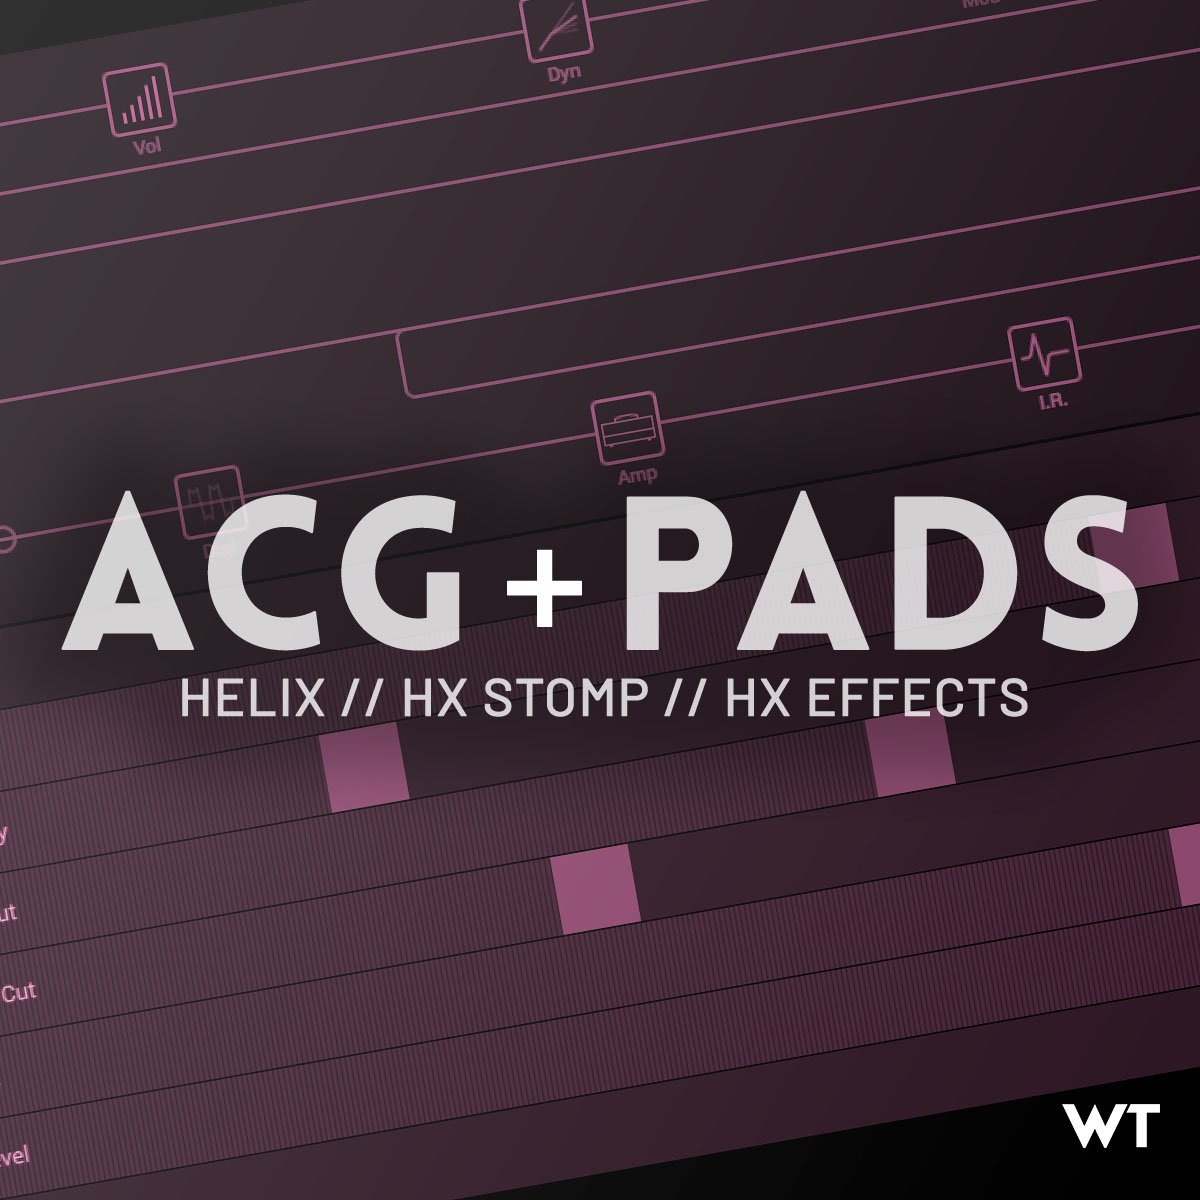
SIGNAL FLOW AND EFFECTS

PATH A (Acoustic – the top row)

  1. Input – Multi
  2. LA Studio Comp– not mapped to a switch, always on
  3. IR block (off by default)
  4. Parametric EQ
  5. Transistor Tape – Quarter note delay – mapped to a button labeled ‘1/4 DLY’
  6. Vintage Digital – Dotted 8th delay – mapped to a button labeled ‘.8th DLY’
  7. Plate Reverb – mapped to a button labeled ‘Plate Verb’
  8. Dynamic Hall Reverb – mapped to a button labeled ‘Dyn Hall Verb’
  9. Looper – Mapped to a button labeled ‘Looper’
  10. Output

PATH B (PADS – the bottom row)

  1. Input – NONE (this is important)
  2. 3 Note Generator – mapped to a button labeled ‘Pads On/Off” and controlled by snapshots
  3. Gain (this is controlled by Snapshots)
  4. Volume – Mapped to EXP 2
  5. Heir Apparent
  6. Parametric EQ
  7. Retro Reel
  8. Glitch Delay
  9. Transistor Tape Delay
  10. Plateaux
  11. Dynamic Hall Reverb
  12. Output

USAGE

PADS ARE CONTROLLED WITH SNAPSHOTS

The Pads are controlled with Snapshots. By default, the patch opens on Snapshot 8 (Pads Off). The Pads will not turn on in this snapshot. To turn on the Pads and change keys, select a key from the Snapshots. The Pads will automatically turn on and/or switch in the appropriate keys.

In any snapshot, you can turn the Pads off by switching the ‘Pads On/Off’ button in Stomp mode.

OUTPUTS

By default, both the Pads and the Acoustic guitar processing paths are set to ‘Multi’ output. If you would like to separate the outputs (which would allow you to send your acoustic guitar and Pads to different channels on a sound board, you can do that by changing the outputs on the two paths. Here are our suggestions:

PATH A (acoustic) – switch this to 1/4”  out

PATH B (Pads) – switch this to ‘XLR’ out

SNAPSHOTS:

The snapshots control the key of the Pads, and they are clearly labeled. The ‘Pads Off’ snapshot turns off the Pads and you will be unable to turn them on from within this snapshot (because of the gain block). We did this so you would not hear a changing key as the Pads turned off.

CROSSFADING THE PADS

The reverbs and delays in the Pads path will cause the pads to crossfade when you switch keys. For the absolute smoothest transitions between keys, we suggest turning the Pads off (via Snapshot 8) and then switching to the new key. The Pads will decay without cutting out and then the new key will swell in smoothly.

MIXING KEYS:

If you would like to mix the keys from the two patches (for example, have key of G and Bb in the same patch), here are the note values you need in the 3 Note Generator block for any given key. Simply select a snapshot, adjust these values accordingly, re-name the snapshot to the appropriate key, and save.

Key of A: Osc 1 Note: A // Osc 2 Note: A // Osc 3 Note:  E
Key of Bb/A#: Osc 1 Note: A sharp // Osc 2 Note: A sharp // Osc 3 Note:  F
Key of B: Osc 1 Note: B // Osc 2 Note: B // Osc 3 Note:  F sharp
Key of C: Osc 1 Note: C // Osc 2 Note: C // Osc 3 Note:  G
Key of Db/C#: Osc 1 Note: C sharp // Osc 2 Note: C sharp // Osc 3 Note:  G sharp
Key of D: Osc 1 Note: D // Osc 2 Note: D // Osc 3 Note:  A
Key of Eb/D#: Osc 1 Note: D sharp // Osc 2 Note: D sharp // Osc 3 Note:  A sharp
Key of E: Osc 1 Note: E // Osc 2 Note: E // Osc 3 Note:  B

Key of F: Osc 1 Note: F // Osc 2 Note: F // Osc 3 Note:  C
Key of Gb/F#: Osc 1 Note: F sharp // Osc 2 Note: F sharp // Osc 3 Note:  C sharp
Key of G: Osc 1 Note: G // Osc 2 Note: G // Osc 3 Note:  D
Key of Ab/G#: Osc 1 Note: G sharp // Osc 2 Note: G sharp // Osc 3 Note:  D sharp

MAKING ADJUSTMENTS FOR YOUR SETUP

ADJUSTING FOR YOUR GUITAR:

Acoustic guitars (and the pickups in them) very quite a bit from model to model. You may decide that you like the parametric EQ in Path A off better – if so, trust your ears. If the output of your guitar is high (and the acoustic path seems much louder than it should be), feel free to adjust the ‘Level’ parameter in the LA Studio Comp block.

ADJUSTING THE PADS LEVEL

We set the patch up so that the Pads felt good alongside the acoustic. If you would like to hear more level from the Pads, you can adjust the ‘Level’ parameter in the ‘3 Note Generator’ block

CHANGELOG

Initial Release (1.0): 2021-06-22

Reviews

There are no reviews yet.

Only logged in customers who have purchased this product may leave a review.