Description
IMPORTANT NOTES
- UPDATE YOUR FIRMWARE: Please upgrade the firmware on your Axe-FX III, FM3, or FM9, and make sure to use the latest version of the Edit software (‘Axe-FIII/FM3/FM9 Edit’) before installing this preset. If your firmware and/or software is not up to date, this preset may not load.
- FC FUNCTIONALITY BUILT IN: This presets are built to work with the Fractal FC controllers. The Axe-FX III presets are designed for the FC-12 and the FM3 presets are designed for the FC-6. FM9 presets do not have external FC controller mapping.
- CYGNUS & CNFB UPDATES: We have updated the amp block for the Cygnus and CNFB firmware updates. Make sure to update to the latest firmware/software versions.
- TONE MATCH PRESET: This is a “Tone Match” preset, meaning we used the Tone Match feature to ‘profile/capture’ an actual amp. There are special instructions in the Import section about how to import the Tone Match file(s).
INCUDED PRESETS
This download includes patches for Axe-FX III, FM3, and FM9. Please make sure to import the appropriate patch for your hardware – they are not interchangeable.
- SUPER THUNDER TM WT SC – this preset is designed to work with single coil guitars
- SUPER THUNDER TM WT HB – this preset is designed to work with humbucker guitars
- NOTE: The FM3 folder includes an ‘FX” patch. This patch includes the additional effects blocks from the full Axe-FX and FM9 patches. Feel free to substitute any of these effects blocks into the main patch to suite your needs.
HOW TO IMPORT THIS PRESET AND USER CAB
- Connect your Axe-FX III, FM3, or FM9 to your computer using a USB Cable
- Download and instal the ‘Axe-Edit III/FM3 Edit/FM9 Edit’ app from Fractal
- IMPORT THE PRESETS: In the ‘Edit’ app, select ‘Tools’ and ‘Manage Presets’. Drag and drop the folder of presets (or the individual presets) into the browser area, and save them to an open preset slot
- IMPORT THE USER CAB(S): In the ‘Edit’ app, select ‘Tools’ and ‘Manage Cabs’. Drag and drop the folder of user cabs (or the individual cabs) into the browser area, and save them to an open cab slot
- ALTERNATIVE – IMPORT THE BUNDLES: You can also import the preset and cab bundles, which are located in a separate folder with the download. To do this, you must select ‘Preset’ -> ‘Import Preset’ in the ‘Edit’ app. Then choose the Preset+Cab bundle and import it. You will be asked to select a preset and cabinet slot. NOTE: You do not need to import the same user cabinets twice – just make sure they are mapped correctly in the preset.
ASSIGN THE USER CABS IN THE CAB BLOCK
After you import the presets and user cabs (these are the tone match cabs), you’ll need to make sure they are assigned correctly in the ‘Cab’ block. This does not happen automatically, so you will need to manually assign the cabs.
- Navigate the to Cab block in ‘Edit’ app
- In Channel A, assign the following cabs to the correct slots:
- Cab 1L: WT Super Thunder TM
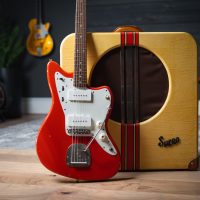
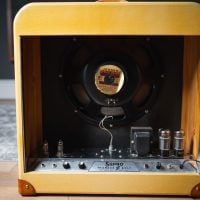
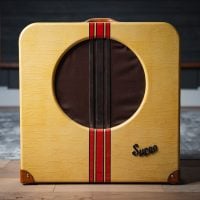
OUR VINTAGE SUPRO THUNDERBOLT, NOW IN YOUR FRACTAL HARDWARE
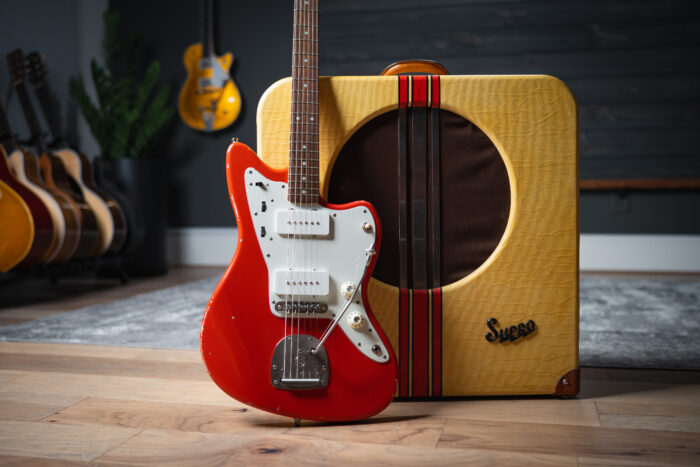
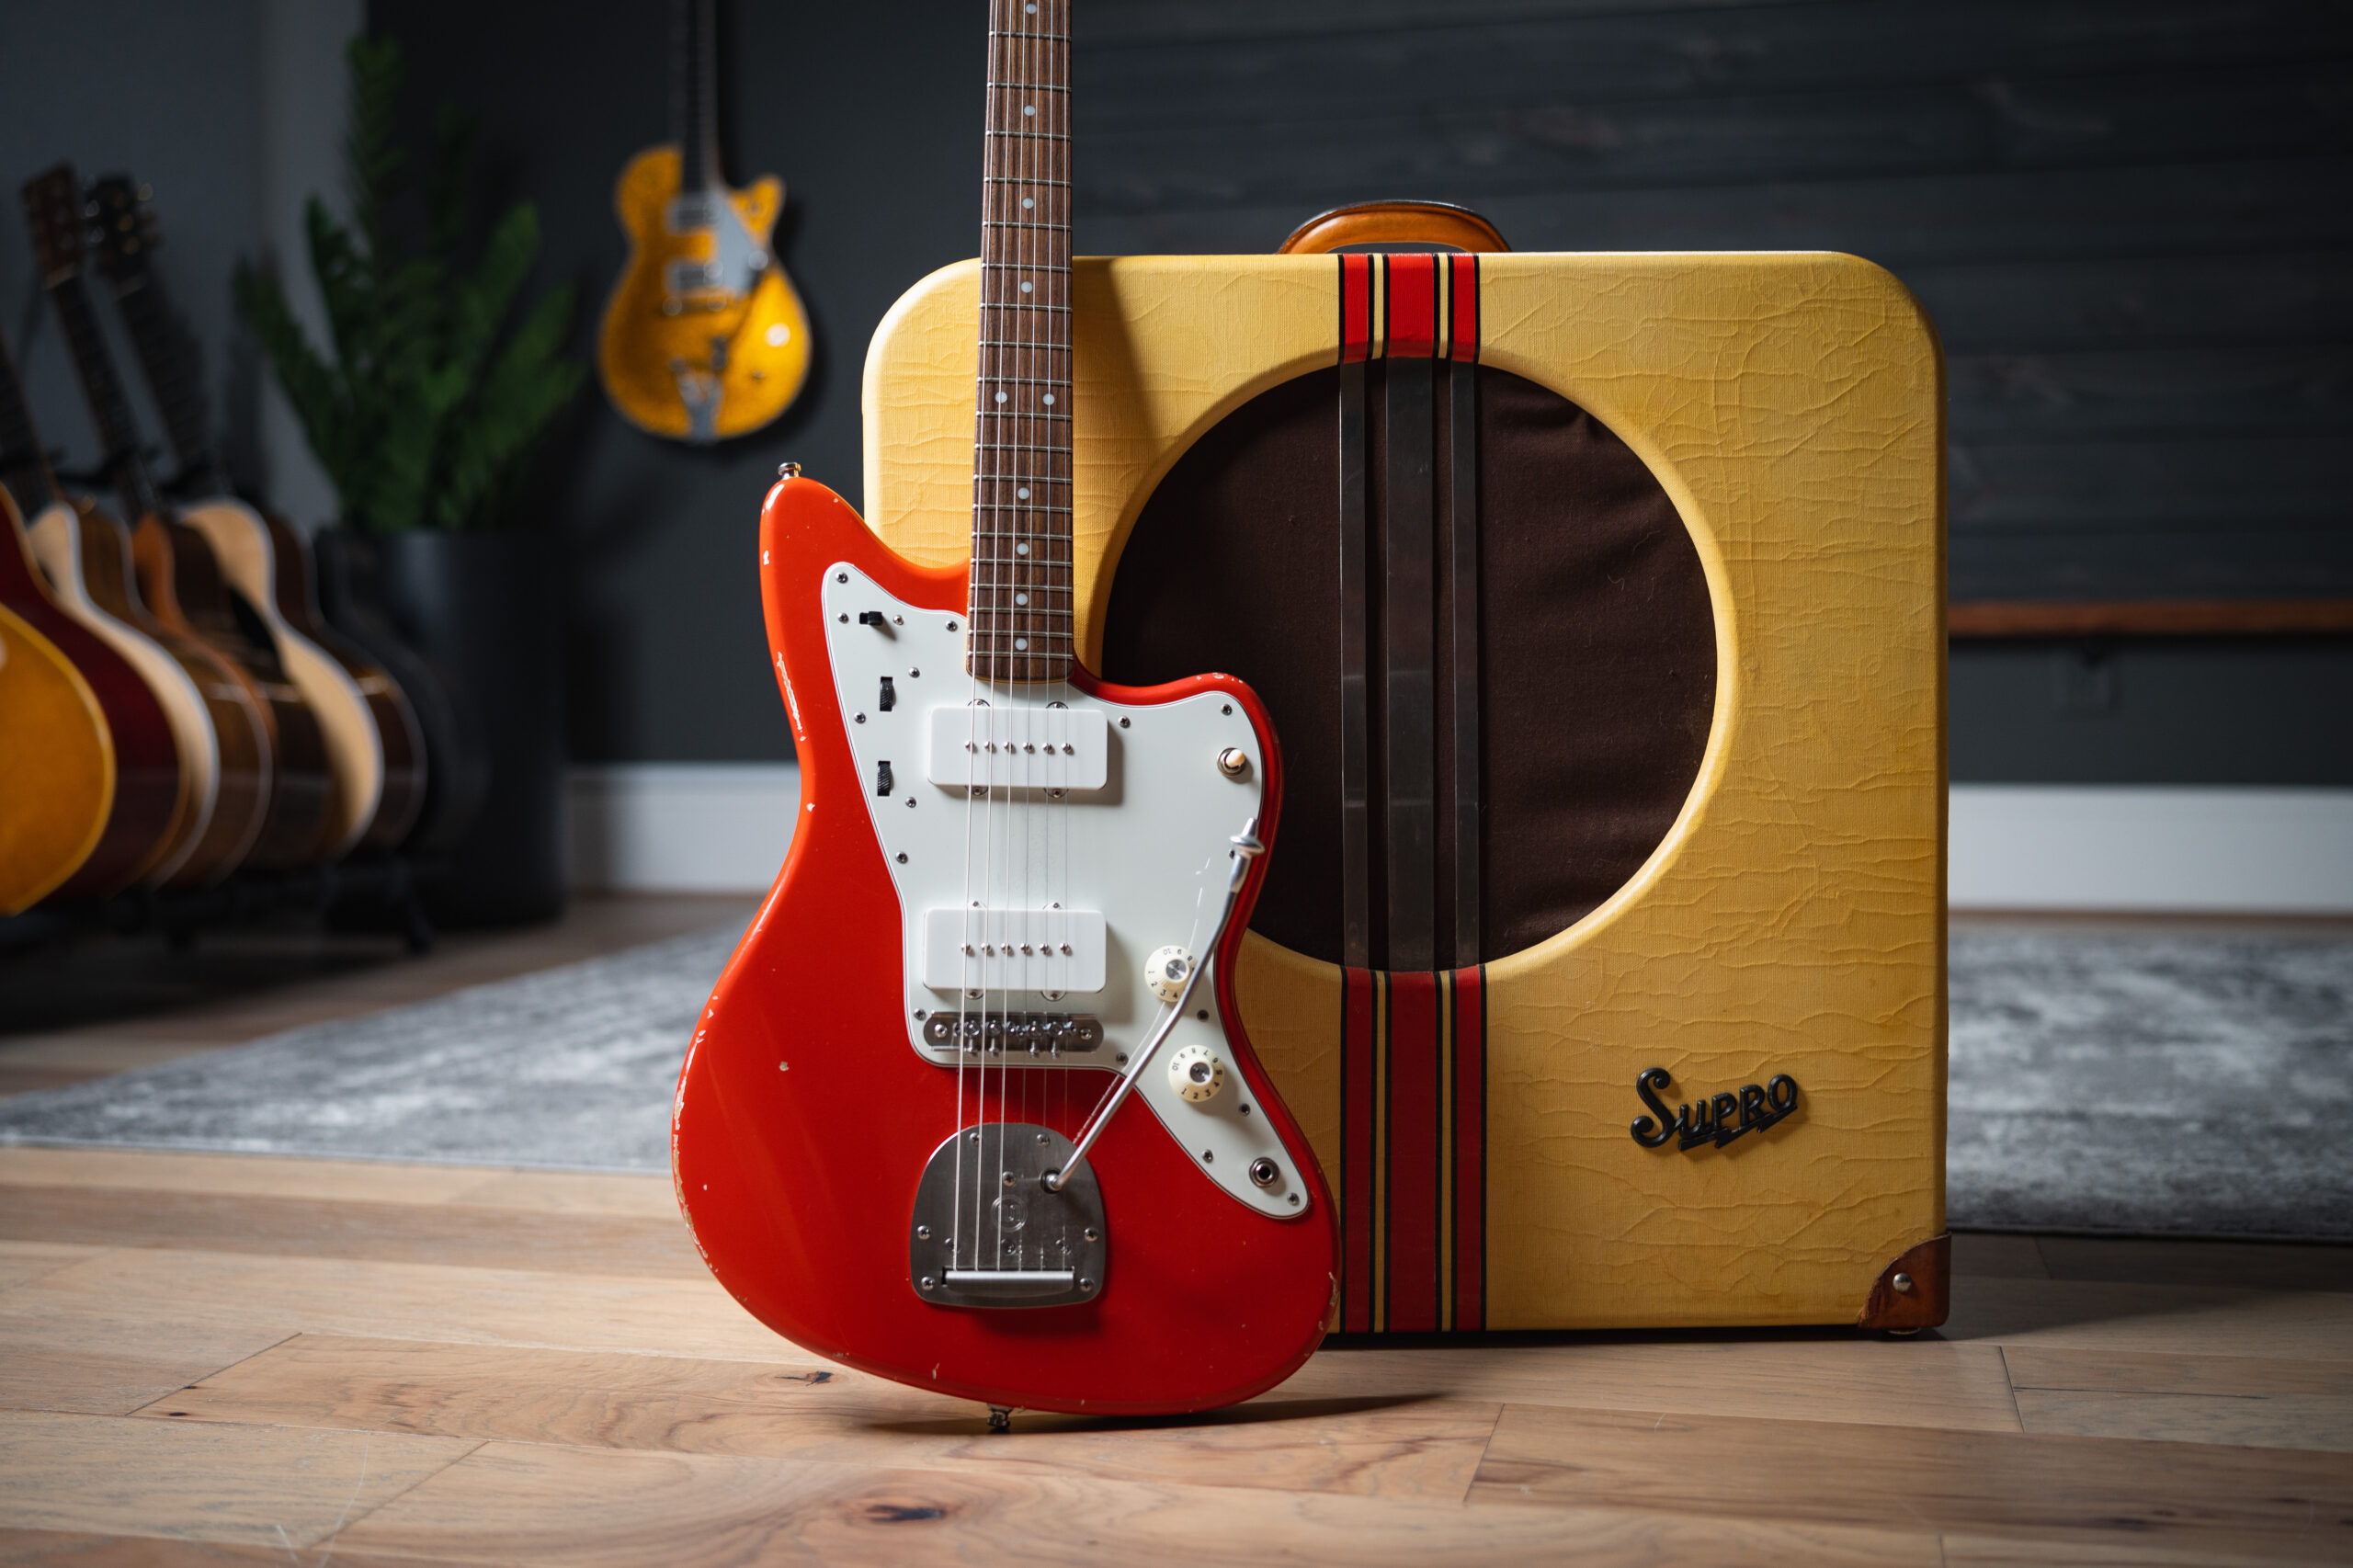
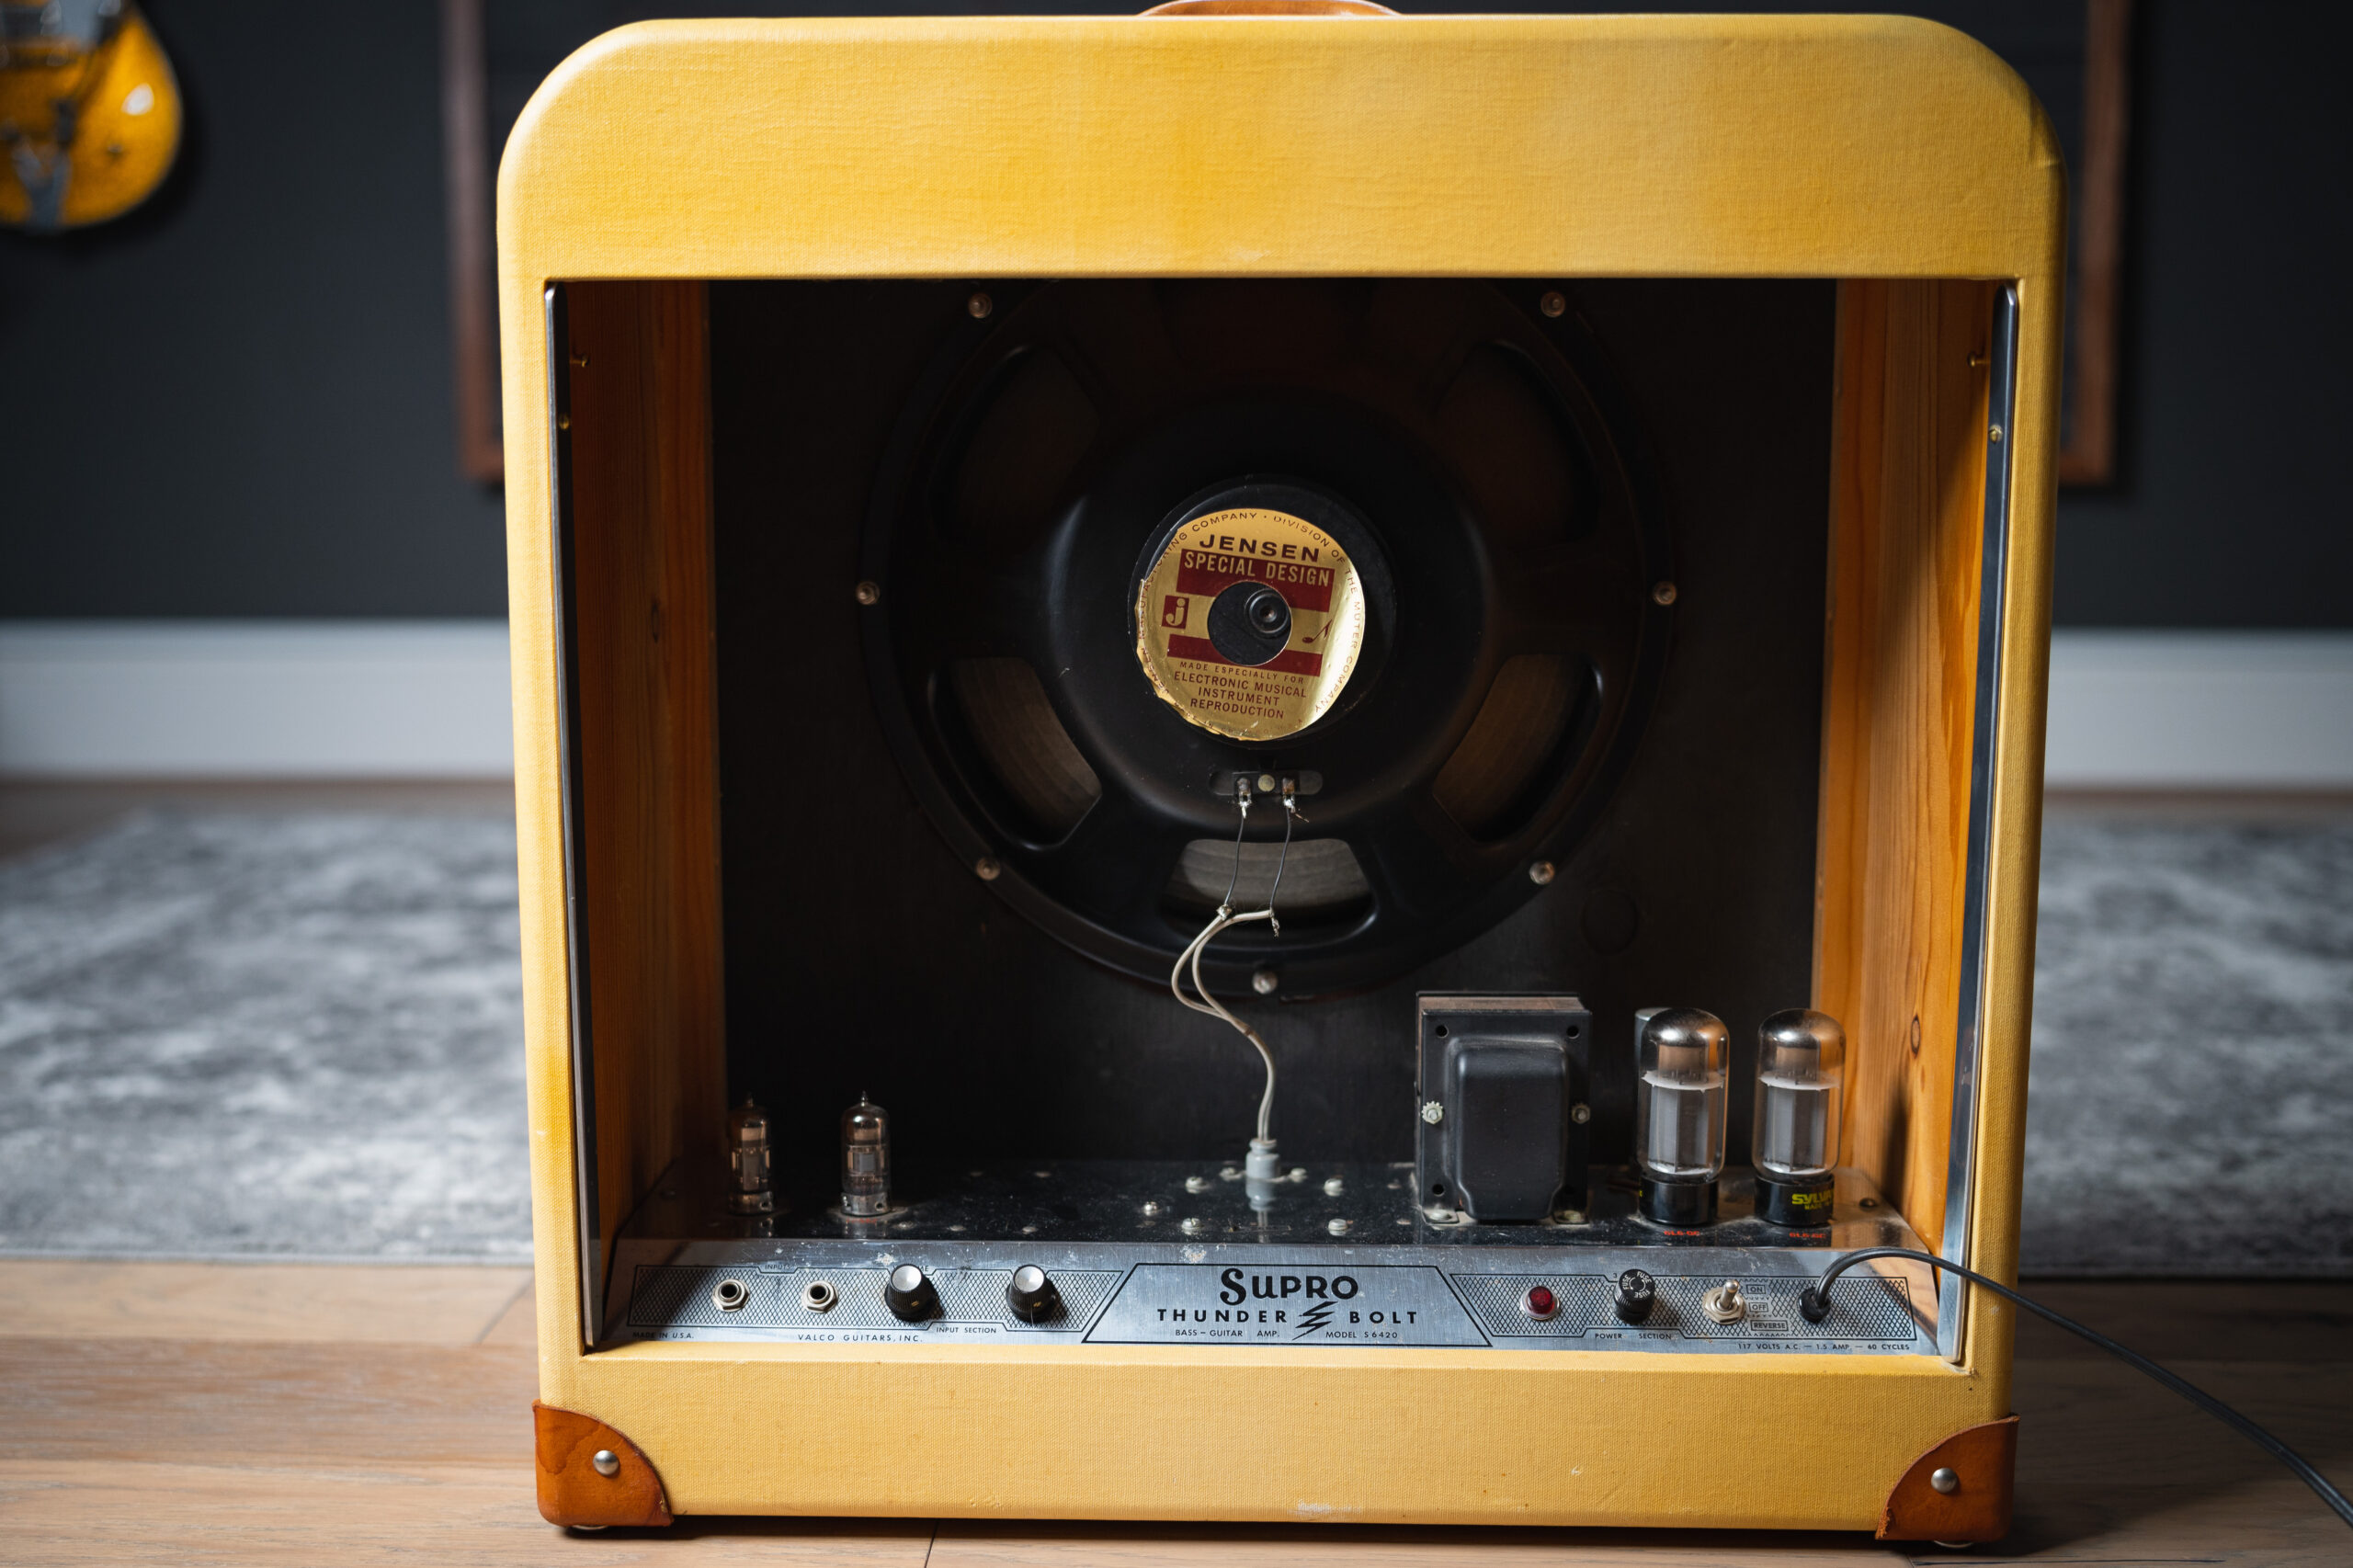
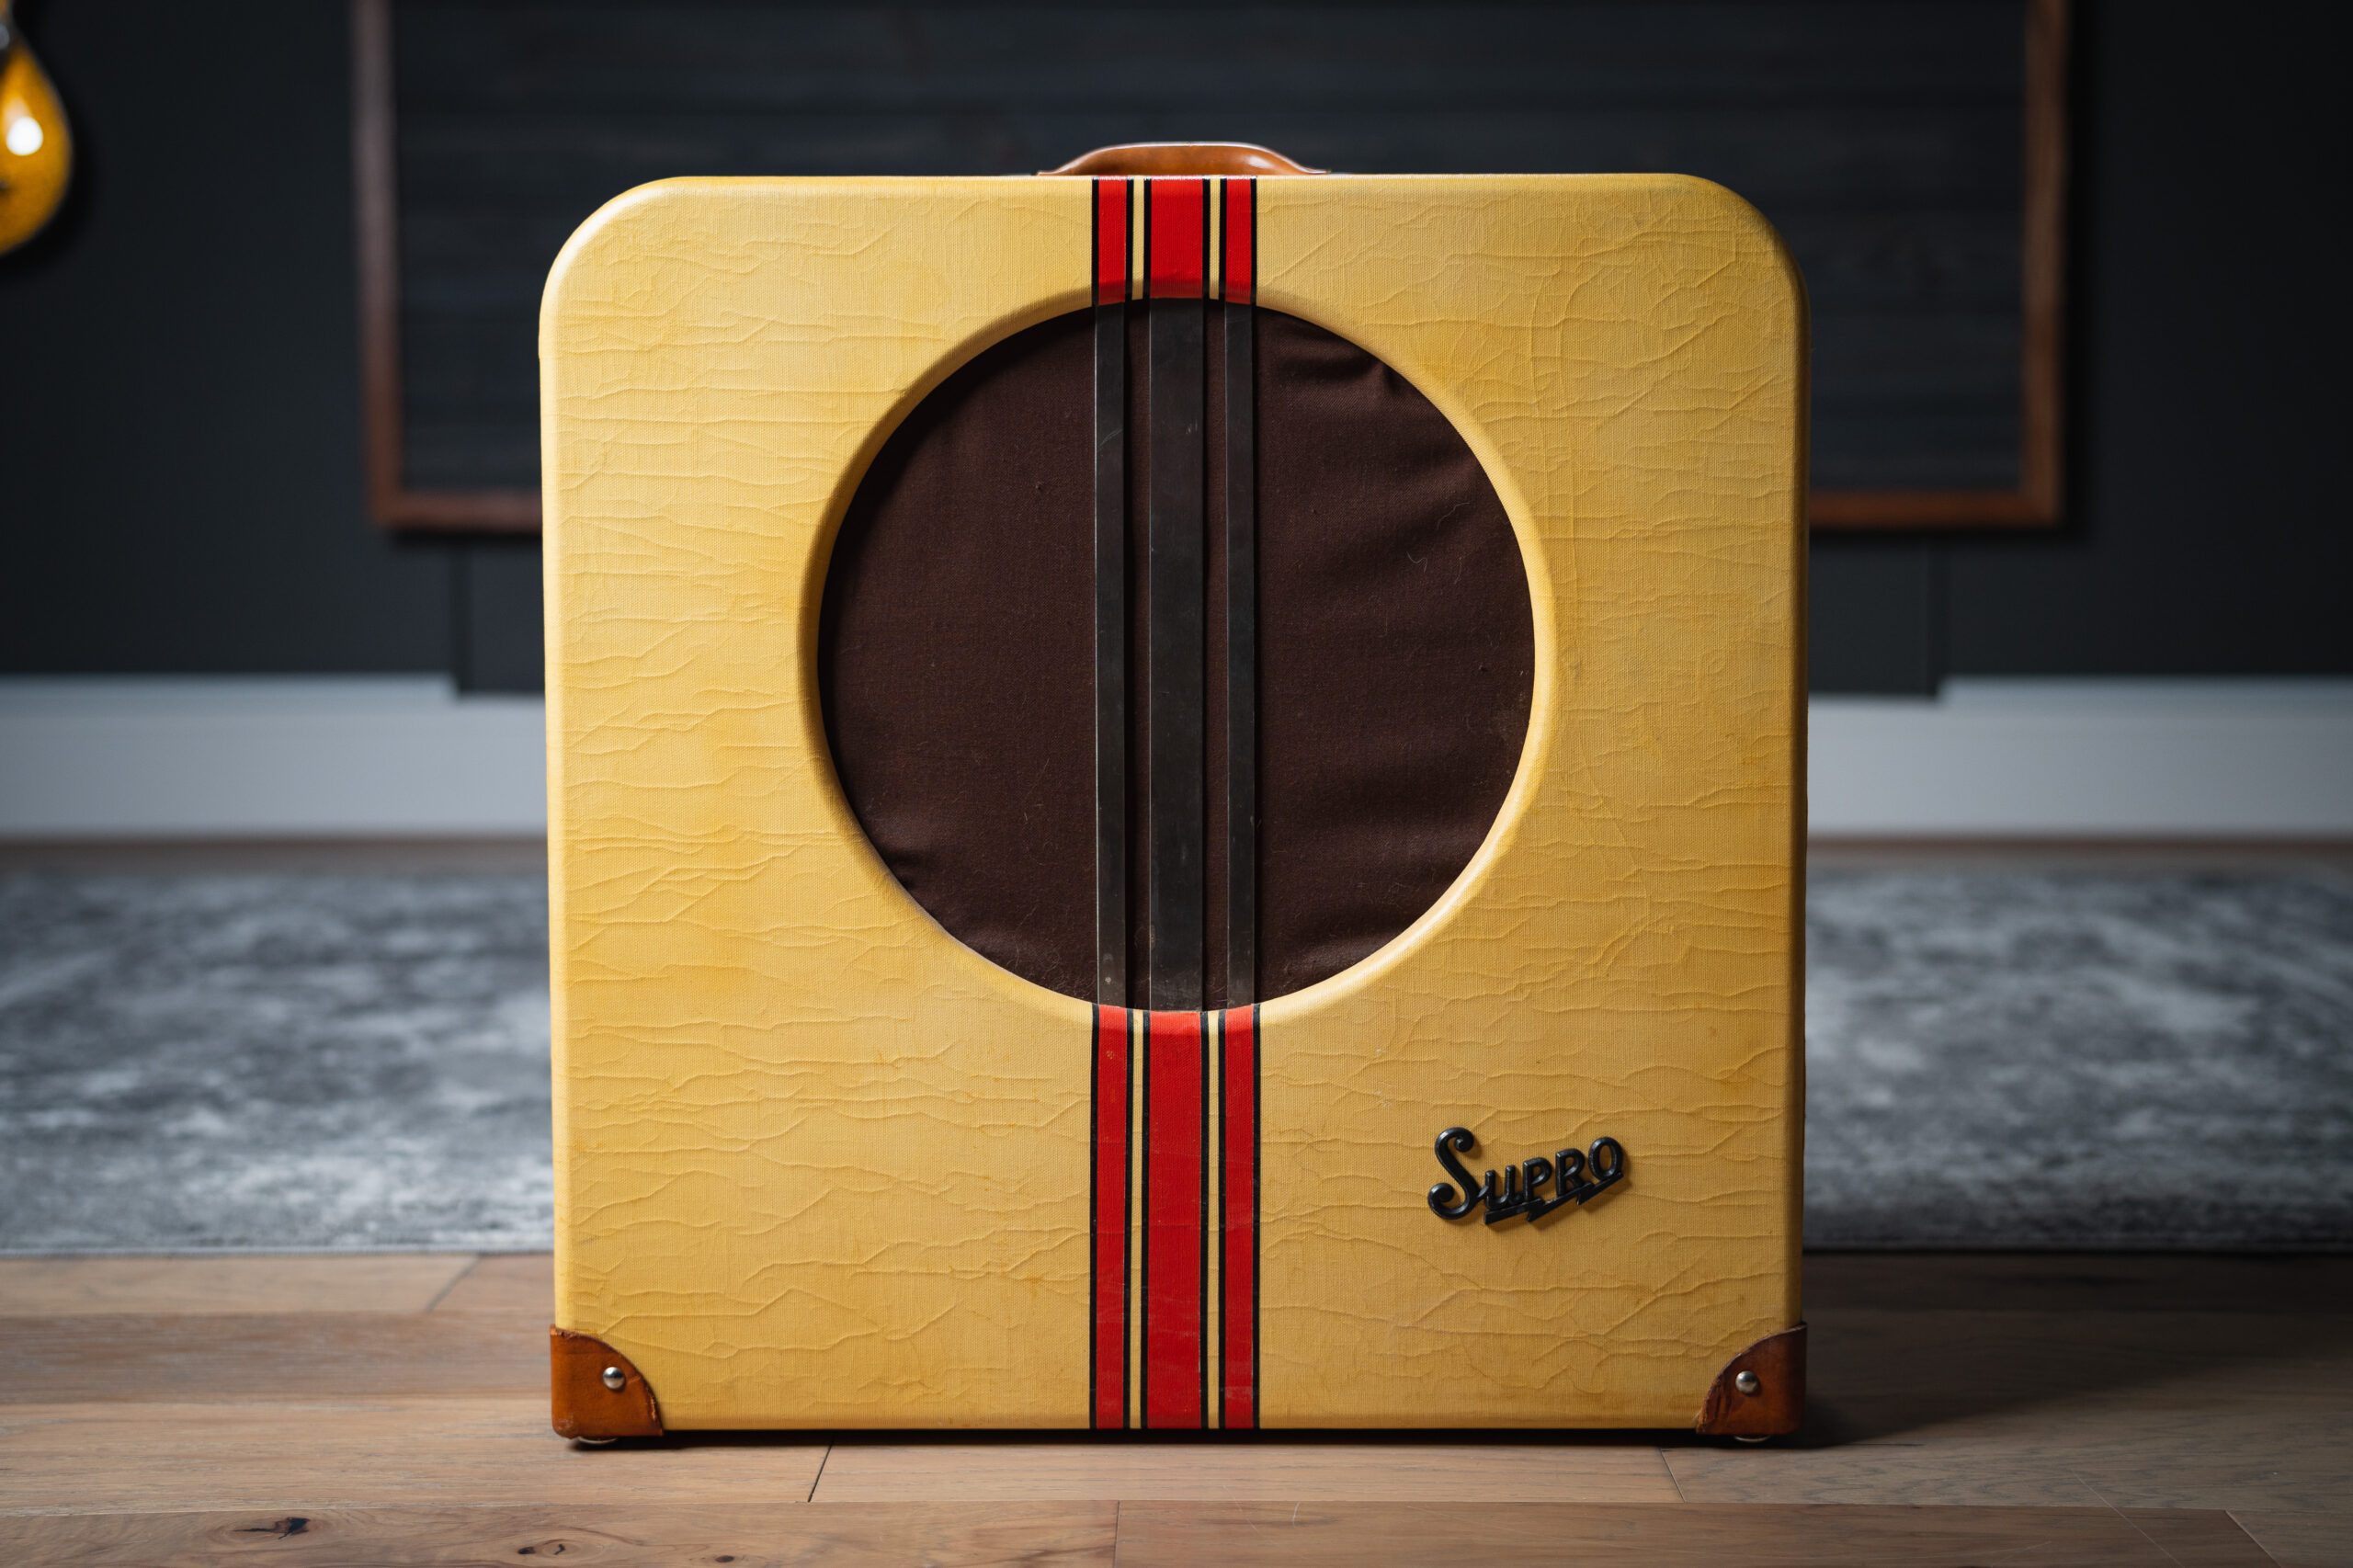
For these presets, we tone-matched the Supro amp model in the Fractal hardware to our Vintage mid-60’s Supro Thunderbolt amplifier. The result is an impulse response that completely transforms the Fractal amp model – it sounds exactly like our amp, and the microphones, preamps, and EQ chains that we use to record it.
The Thunderbolt is a huge sounding amp. Ours features the original Jensen 15” speaker which delivers some massive low end, but still remains refined when pushed with gain. Cleans are big and rich, and driven tones have tons of harmonic character. It’s very vintage sounding, but surprisingly versatile.
SIGNAL FLOW AND EFFECTS
- Input
- Compressor
- Pitch (POG)
- Drives: Timmy, 808, KOT (and more)
- Volume – mapped to EXP 2
- Tremolo
- Chorus
- Delays: 1/8 delay, Dotted 8th delay, Dual stereo delay
- Reverbs: Subtle and Huge
- Amps
- IR (Tone Match)
- Solo Boost
- Output
The FM3 presets cannot fit all the effects into a single patch. For that platform, we include the amp and essential effects in the main presets, and then we include the additional effects blocks in the ‘FX’ preset. Feel free to mix and match the additional ‘FX’ blocks into the main patches to suite your needs.
BLOCK CHANNELS
For each effect block, we set up all four channels to give you as many options as possible for each individual effect types. For example, in the Compressor block, there are four different types of compression. For drives, we use all available channels in each drive block to get different overdrive flavors. Please experiment with the channels in all the different blocks to find your favorites. Typically we use our favorites in Channel A.
The exceptions to this are usually the amp and cab blocks – for those we usually only set up Channel A.
SCENES
The following scenes are set up for instant access to various tones:
- SCENE 1: CLEAN. Base clean tone
- SCENE 2: DRIVE. Stage 1 drive tone
- SCENE 3: DRIVE+. Big rhythm tone
- SCENE 4: P&W LEAD. Lead tone with lots of delay and verb
- SCENE 5: AMBI CLEAN. Clean tone with lots of delay and verb
- SCENE 6: TREM CLEAN. Clean tone with tremolo
- SCENE 7: AMBI MOD (Rock Lead for FM3). Ambient clean plus chorus
- SCENE 8: SWELLS. Big ambient swells tone
USAGE TIPS
STEREO
Our presets are designed to be used in stereo. If you are running mono, you’ll need to sum your signal to mono before going to FOH (if you only use the Left output, won’t hear some of the delays at all).
The easiest way to make this adjustment is in the ‘Setup’ menu:
- Choose ‘Setup’, and select ‘I/O’
- In OUTPUT 1 CONFIGURATION (choose the physical output you are using), change the ‘Mode’. Select ‘STEREO’ if you are running in stereo. Select ‘’SUM L+R’ if you are running mono. This will convert your output to mono and sum the stereo image. This will also cause all your presets to output in mono, as it is a global setting.
EXPERIMENT
We design our presets for maximum usability across a wide range of styles and gear. We also realize that every player and every setup is different. Feel free to experiment with different effects and settings within the patches. We recommend copying the patch into a new slot before experimenting. This way you can always revert to the original if you’d like.
PER-PRESET MAPPING AND OVERRIDES
AXE-FX III & FM3 PER-PRESET MAPPING AND OVERRIDES
The Axe-FX III and FM3 presets are designed to integrate with Fractal’s FC Controllers. Axe-FX III presets have FC-12 ‘per-preset’ programming, and FM3 presets have FC-6 ‘per-preset’ programming.
To view and edit this programming, open the ‘Edit’ software for your hardware device and navigate to the ‘FC Per-Prst’ and “FC Edit’ tabs. There you will see the individual per-preset mapping and those assignments on the FC controllers.
For Axe-FX III, we’ve mapped the per-preset overrides to Layouts 7 (Scenes) and 8 (Effects). For FM3, we’ve integrated the per-preset mapping with the OMG9 custom layout (more info here: https://forum.fractalaudio.com/threads/fm3-fc-6-omg9.160180/)
FM9 PER PRESET MAPPING AND CUSTOM LAYOUTS
Our FM9 Presets use Layouts 6, 7, and 8. Each of these layouts utilizes the three buttons below the display as utility buttons, and the six buttons on the right change depending on what layout you are on. All of these buttons utilize Per-Preset mapping, so they won’t mess with you existing presets.
LAYOUTS:
- Layout 6 (FX1 WT): This layout gives you drives and modulation effects
- Layout 7 (FX2 WT): This layout gives you reverbs and delays
- Layout 8 (SCENES WT): This layout gives you scenes
UTILITY BUTTONS (Below the display)
- Tap Tempo/Tuner: Tap tempo, and press and hold to tune.
- PRESETS. Tapping on this button recalls Layout 1, which is by default a preset menu. Press and hold to move down one preset.
- VIEW: Tapping on this button will cycle through Layouts 6, 7, and 8, allowing you to cycle through the different effects and scenes layouts. Press and hold to move up one preset.
We have also included a Custom Layouts file. You can import this using FM9 Edit. We have altered Layouts 6, 7, and 8, so the rest of the layouts will import as the factory settings.
MAKING ADJUSTMENTS FOR YOUR SETUP
SETTING THE PRESET UP FOR YOUR GUITAR
All guitars are different, so you may want to make changes to suite your playing style and guitar. To adjust the preset for your guitars, the primary controls to adjust would be:
- Input Drive (and/or Input Trim). If the clean sounds from this preset are too dirty, lower the input drive and/or trim. Do the opposite if you want more gain. This preset is meant to be on the edge of breakup at it’s cleanest settings (otherwise the drives won’t stack properly).
- EQ settings (amp block – basic). Once the desired gain staging is set, the next adjustment would be the amp EQ settings.
- Output EQ settings (amp block). The Graphic EQ on the amp block is a great way to make final EQ adjustments. We’ve set it to ‘Post P.A.’, which means the EQ settings will not be affected by the Power Amp section.
ADJUSTING THE OVERALL LEVEL OF THE PRESET
The Fractal hardware offers very useful tools to check overall level of individual presets and blocks. In the Output block you can monitor the overall output level. You can also monitor levels of each block individually from the front screen of the hardware units.
If you’d like to adjust the level up or down (to match it with other presets), we recommend adjusting one of the following:
- Level (amp block – basic). This will adjust the overall level of the preset up/down. Avoid using the ‘Master Volume’ control, as this will change the tone of the amp.
- Level (cab block). This will also adjust the overall level of the preset up/down.
CHANGELOG
Version 1.0 – 2022-07-13






Reviews
There are no reviews yet.